Bench Tales: How Hand Fabrication Can Save the Day

A few days ago, we had an honest to goodness JEWELRY EMERGENCY. A custom engagement ring had a super tight deadline - the casting arrived the day before the ring needed to be delivered. Upon inspection, the casting was defective. We're picky around here, so a defective casting - even a minor defect - just won't do. Hours away from delivery and no ring mount! What's a girl to do?!
Here's the inside scoop on casting defects: All of our engagement rings are built from scratch every time - custom designed and built around the center stone selected. Even though we use some snazzy technological tools and advances, the heart of what we do is still based in old school, traditional jewelry techniques. Lost wax casting is the method used to turn our 3D printed designs into stunning jewelry. We work with a phenomenal caster who does work for some of the biggest and best names in the jewelry industry (and they're right in our backyard, we like to keep it local!) - but still, it's a complicated process, and hiccups can happen! The most common issue is porosity - small bubbles of air inside the metal (picture the inside of a 3 Musketeers candy bar). This can cause weak spots in your ring - obviously not ideal.
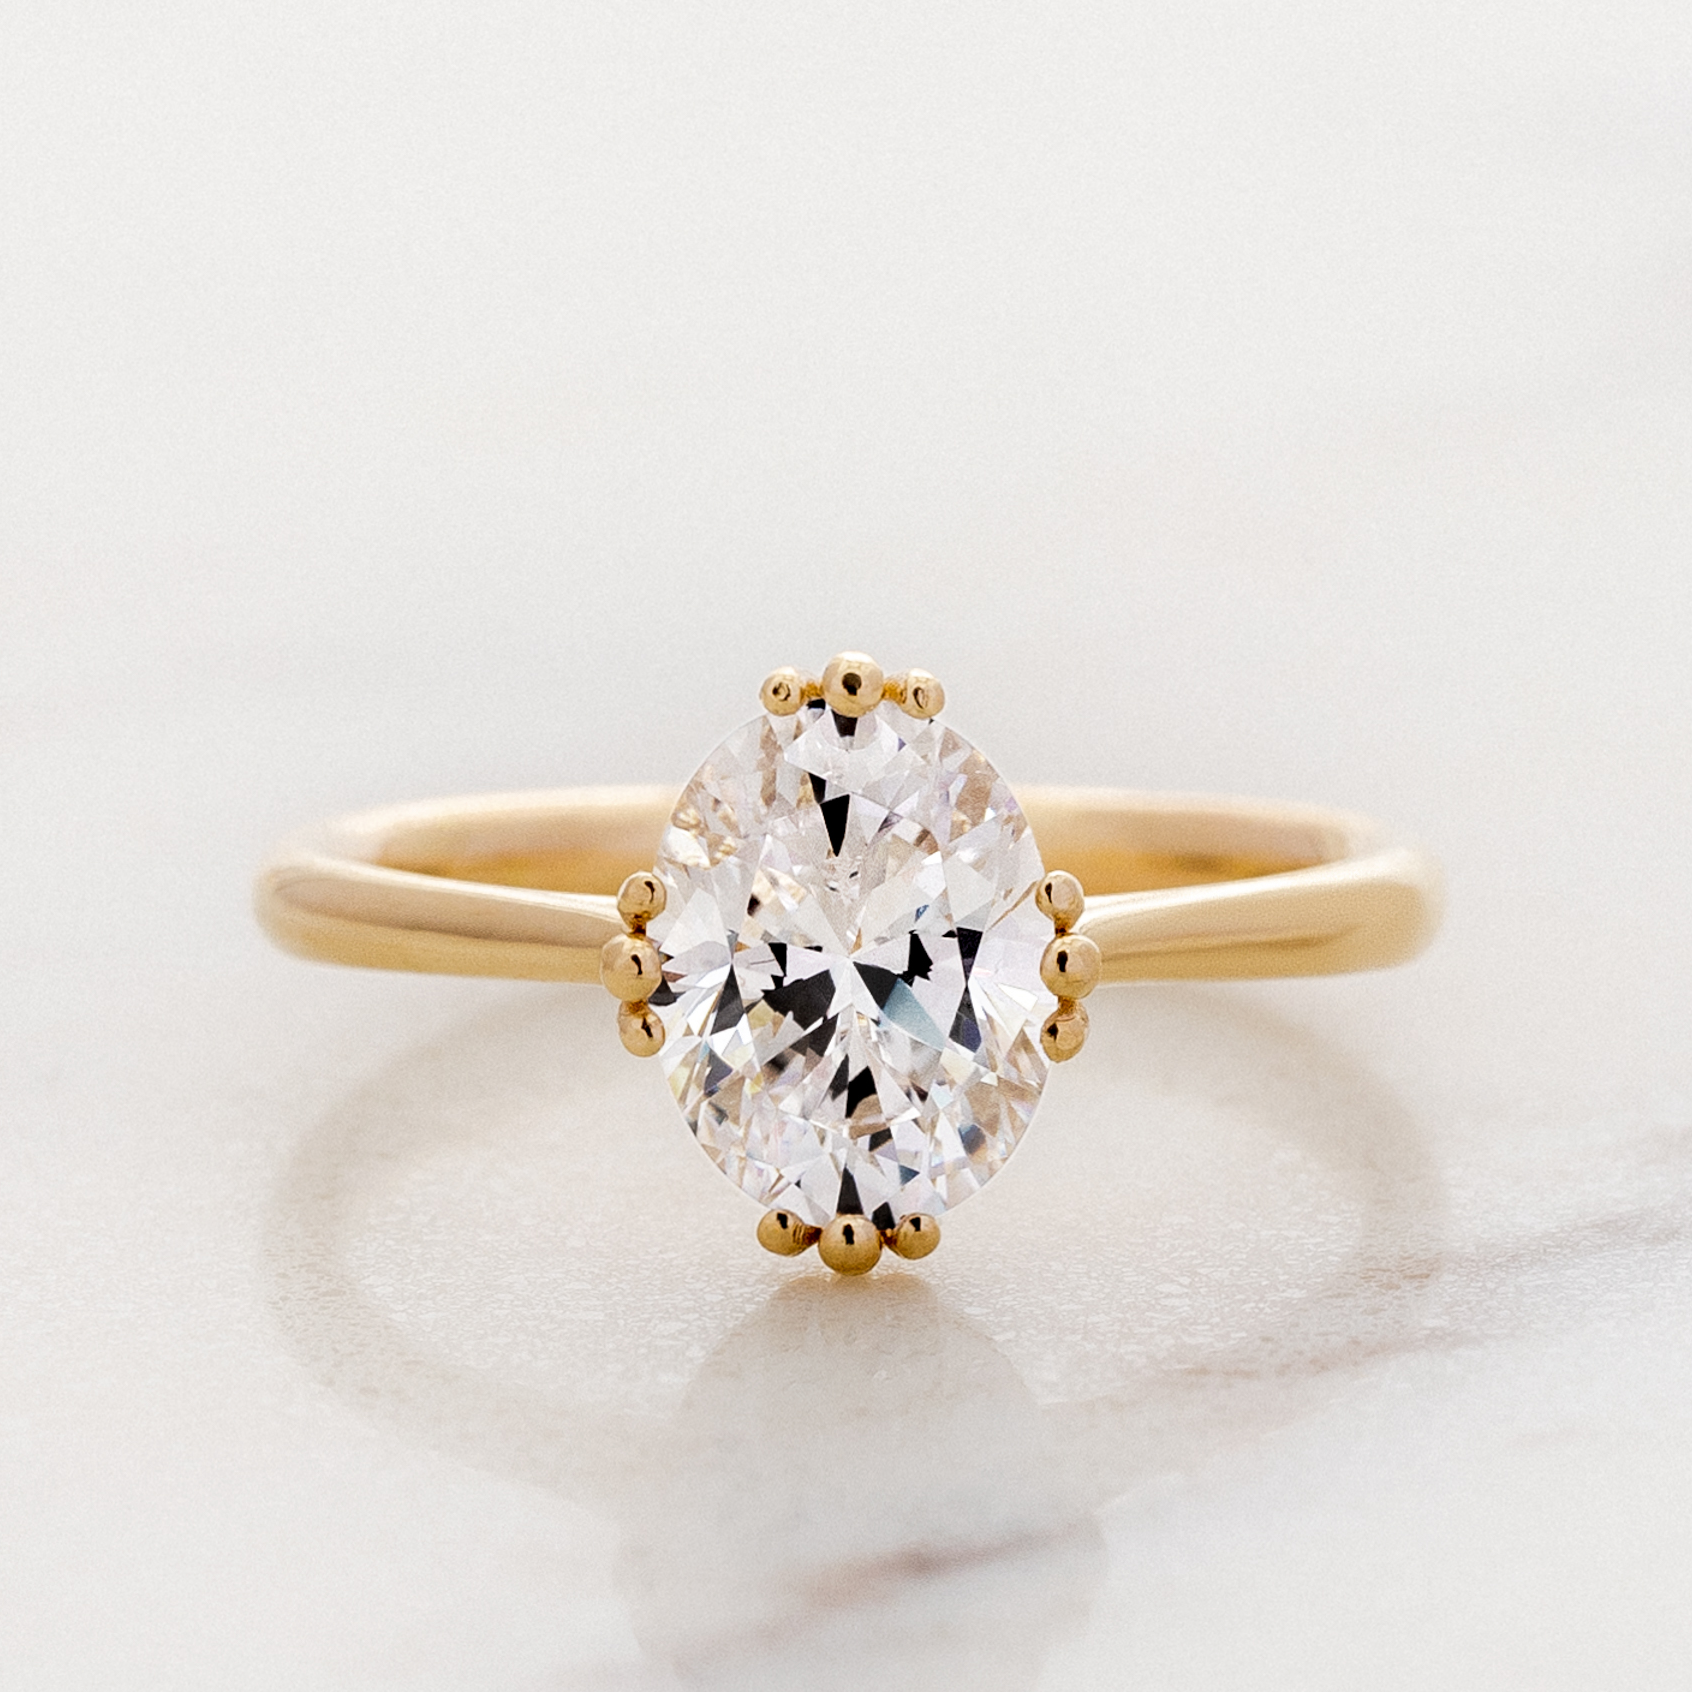
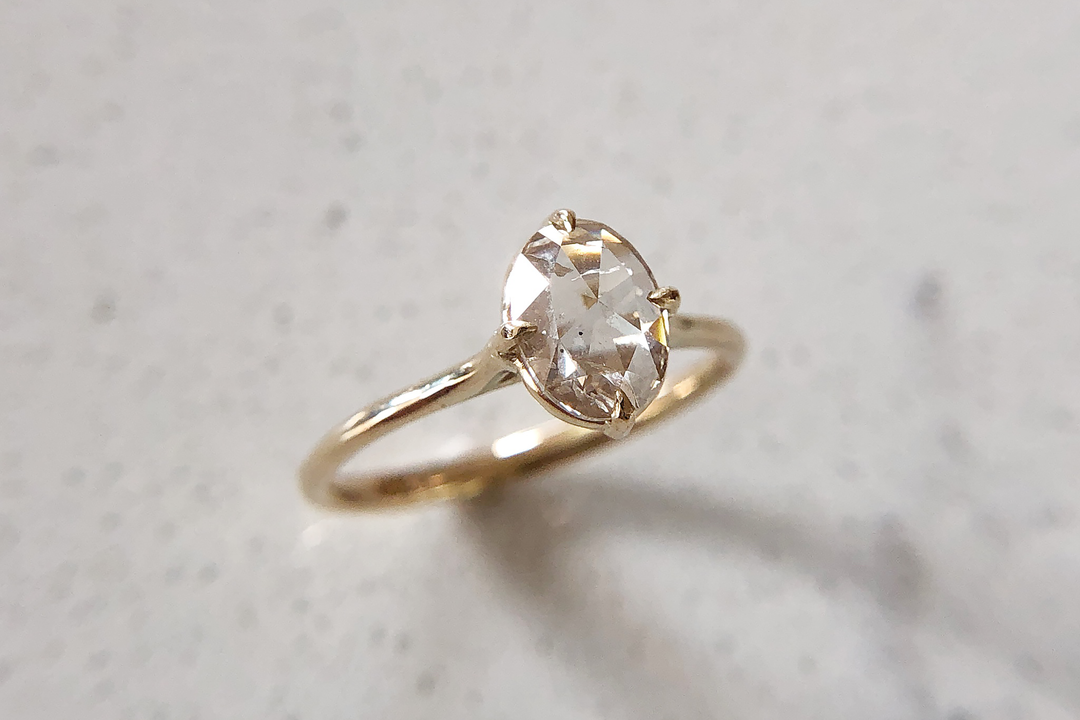
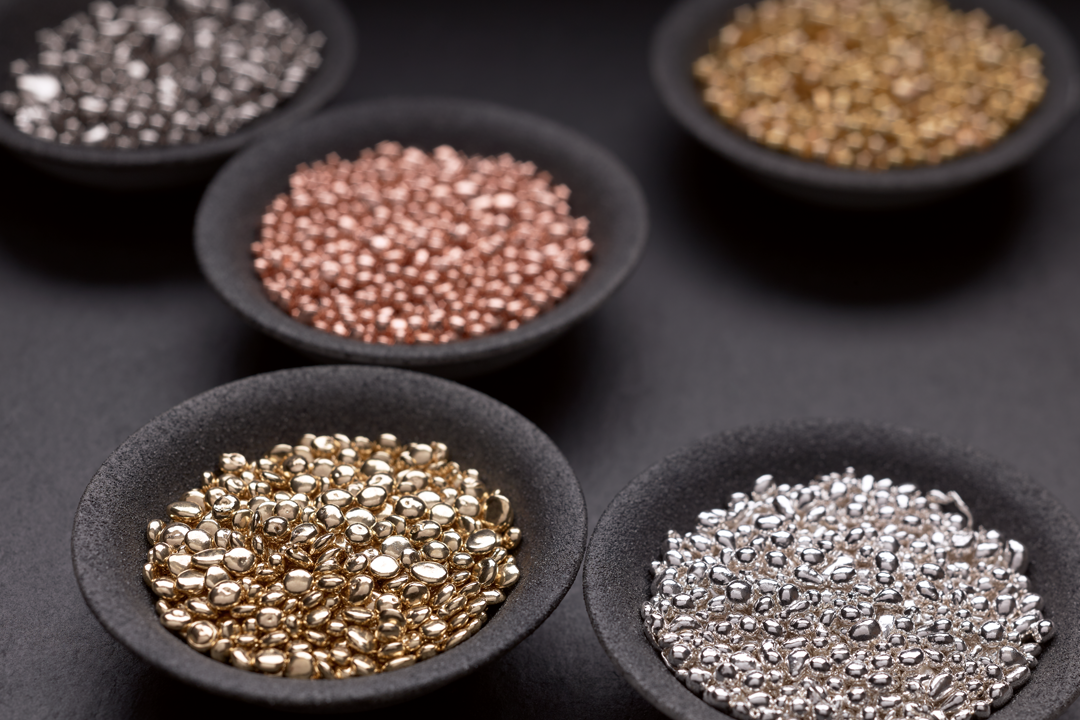
I love nothing more than a good jewelry miracle - and this was the perfect opportunity for one. Before I started using CAD to build digital files for designs, I was classically trained to hand build jewelry on the bench. Although CAD offers speed and convenience (and thus, more wallet-friendly prices), hand fabrication by a skilled jeweler can be just as spectacular (and sometimes even more so). Luckily, the ring I needed quickly was a simple, beautiful solitaire, made for a champagne rose cut oval diamond. I milled the stock I needed (using 100% recycled metal, of course) and got to work!

Starting with straight square wire, I formed the ring band and then tapered and rounded the edges to create a round band that's thicker at the back and more delicate at the top. Next, I made a small oval ring to act as the diamond 'seat' in the head. Carving small notches where the prongs will go makes soldering them on a breeze, and helps guarantee an even layout with perfect alignment. After soldering the head to the band, some additional filing, carving, and sanding makes everything perfectly formed and even. I always pre-polish the ring before setting, and bringing the area underneath the diamond to a bright mirror finish is particularly important when setting rose cut stones.
A few hours later, I had a new, fully hand fabricated ring - made to the design specifications that my client and I originally designed together. Top notch quality, a fully bespoke ring, and a proposal on a special date! What's not to love??


Leave a comment